I’ve always liked music and music tech, although I’m not really much of a musician myself. I’ve written before about repairing an old Casio keyboard rescued from a skip. I’ve started looking around recently at old, unregarded and (importantly!) cheap synths to play with. The classic 1980s ones like the Yamaha DX range are now really quite expensive (£500 or so for a decent one) making me regret not looking at this before given that a few years ago you could have got one for next to nothing. However trawling ebay I found someone locally selling a Kawai K1 untested reasonably cheaply so I bought it.
I’d not really heard of this one but it appears that it was quite popular back in the day and they sold a lot of them. They seem to have been in the doldrums for years but there does seem to be some interest again. There are a few interesting websites with more information:
https://www.musicradar.com/news/blast-from-the-past-kawai-k1
https://kawaik1.wordpress.com/
The one I got was in a pretty sorry state when I got (and not _quite_ as described by the seller either!)

There is some damage to the casing on the front at the right and the rightmost keys are slightly damaged. It’s a bit shabby all over with some dirty keys and needs a good clean. It came without a power supply although it’s a standard barrel connector and a 12V power supply (although ‘centre negative polarity).
I was pleased to find that it powered up without an issue, although on trying to play there were quite a few issues. Some of the piano keys didn’t work, none of the control buttons worked and the joystick didn’t seem to do anything. I had a strong suspicion that the internal battery had failed too.
So first job was to open it up and have a good look. The Kawai blog above has good advice on doing this, basically a matter of removing all the screws on the base of which there are several different kinds. There is a good account of it here:
https://kawaik1.wordpress.com/2019/05/16/dissassembling-the-k1/
Once I got inside there were a few broken bits of casing rattling around but in general not too much obvious damage:

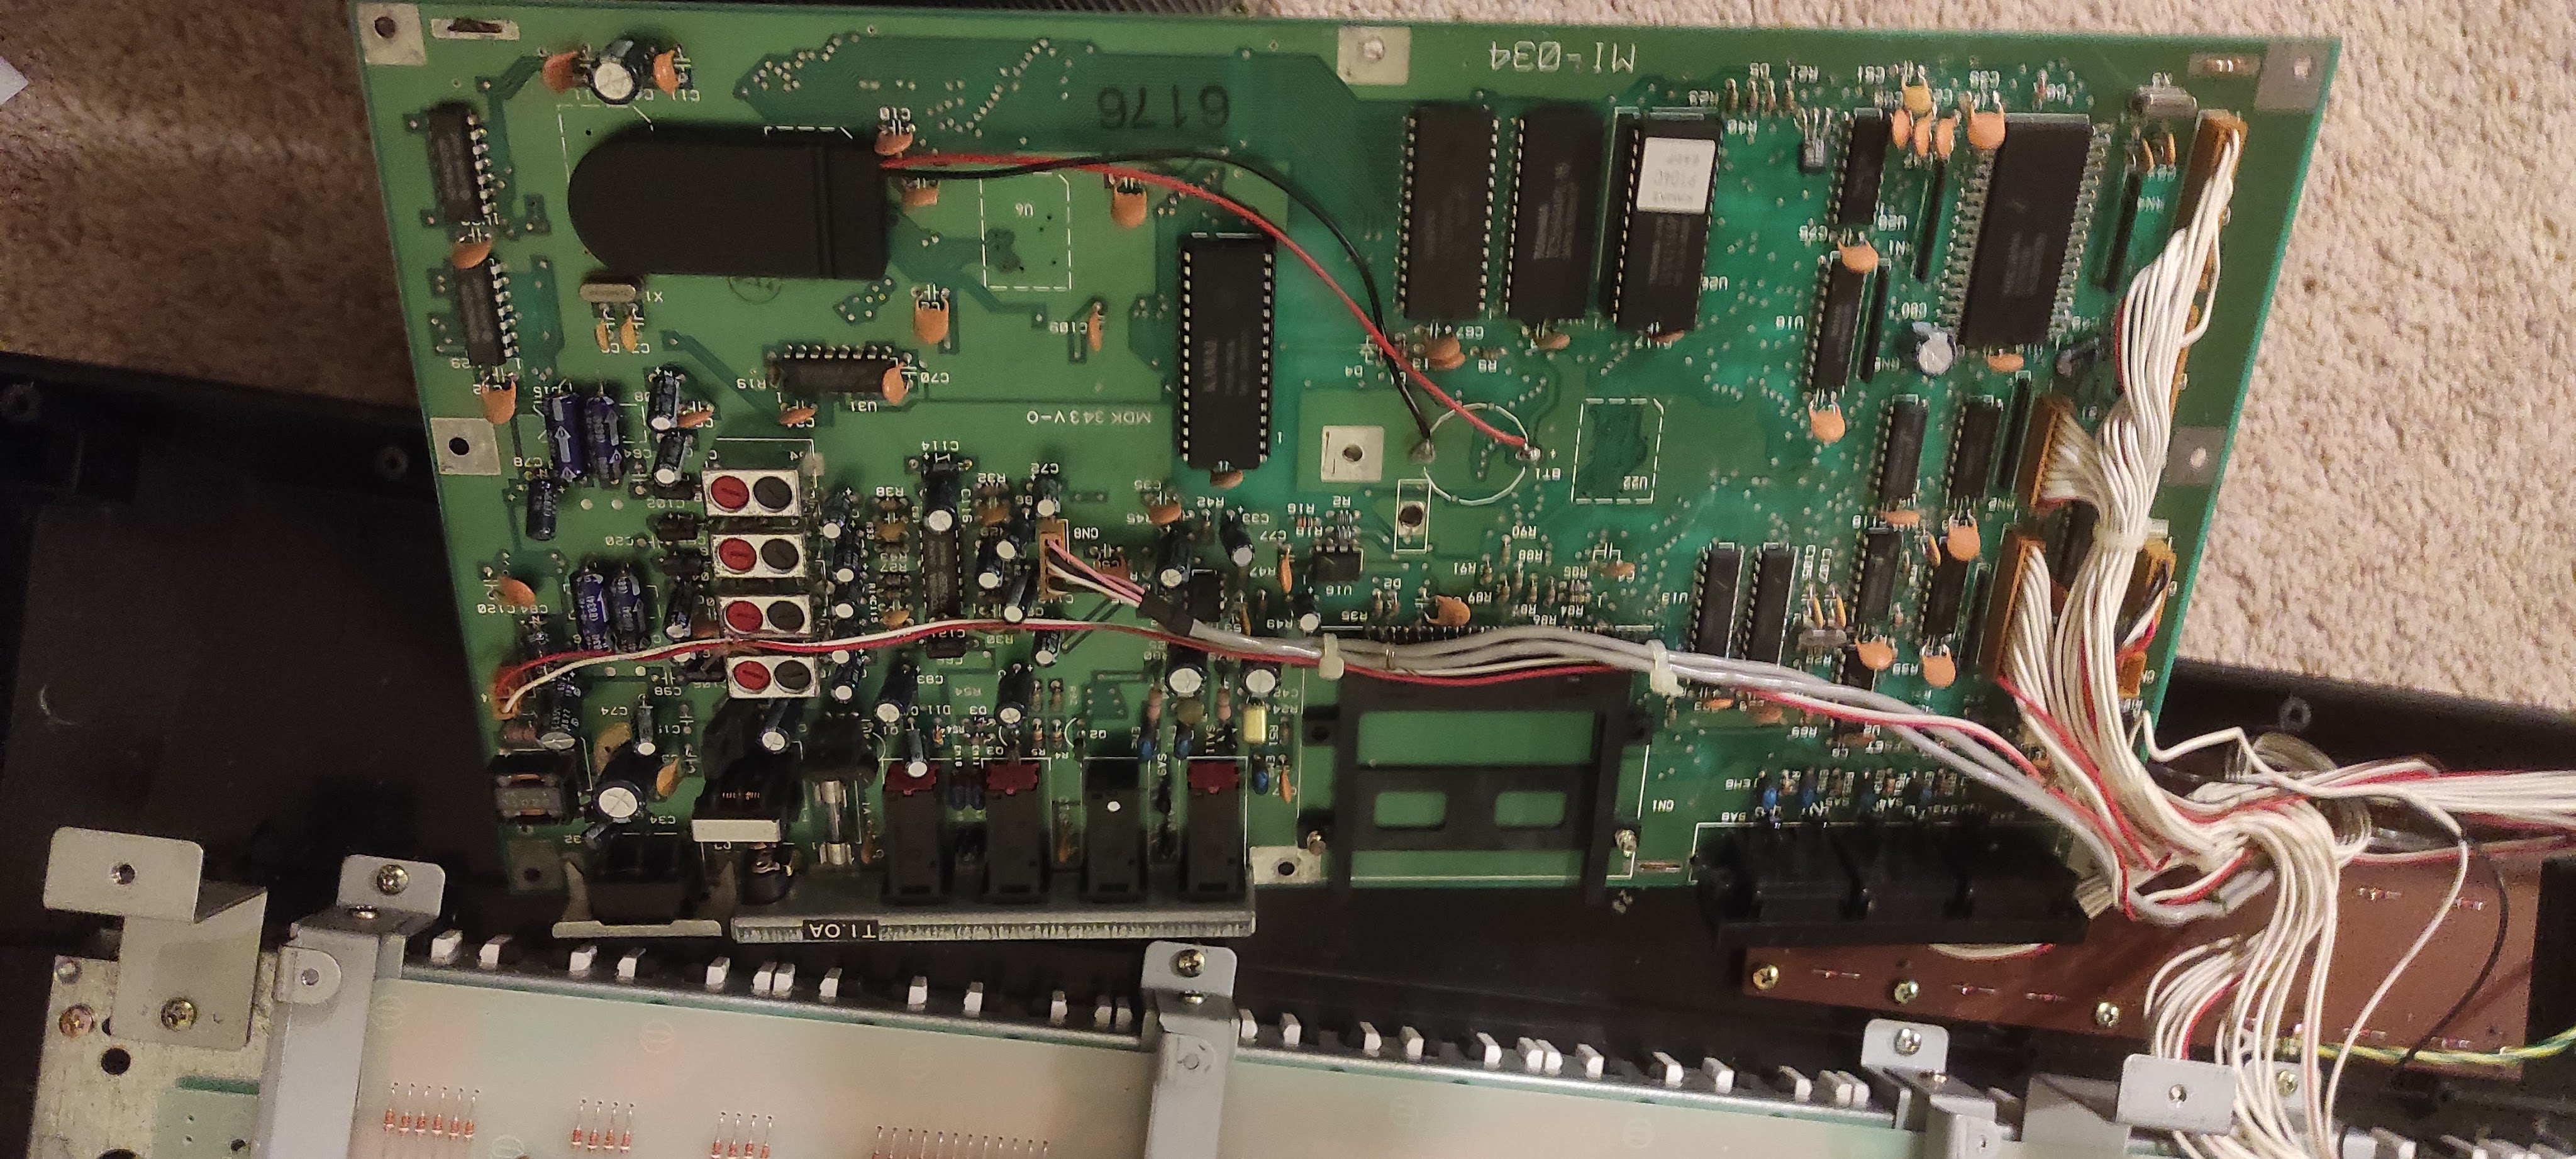
The main board has a copper sheet on the bottom, but you can get to the top of the board by unbolting the board and carefully flipping it over:

There’s nothing obviously wrong here other than a badly bodged backup battery install. It looks like someone has torn the straps off the old battery and put a new one in with sticky tape, but it’s not really worked. I could replace this with a proper tagged battery, but these are a bit of a fiddle and so instead I thought I’d use a battery holder. There seem to be quite a few of these out there now, and I found a lot of these out there:

They are very cheaply made, but let you install one or two CR2032 batteries in a case and solder the flying leads to the board. This should make it much easier to replace the battery in future should this ever be needed. So I cut down the old tags and soldered the wires on, fortunately the positive terminal was marked on the board. I stuck the holder to a convenient space on the board with some self-adhesive tape:
The next problem is the unresponsive piano keys and control buttons. For both of these it was simply a case of stripping everything down. These keys work by a rubber mat which pushes down on some PCB based contacts. I was able to unscrew the button board and pull the mat off, and clean the contacts up. It was the same approach for the piano keys, and the details are in the post linked to above. There was nothing obviously wrong with any of the contacts but there was a fair bit of fluff which I cleaned up. I had read on the internet somewhere that people had trouble with the copper sheet under the PCB so I took that off too although it didn’t make any different. However it gave me a chance to have a good look at the underside of the PCB which again looked fine.
There was also some damage to the top ‘C’ key and a stabilising post had snapped off. Unfortunately I broke this further trying to get it out and whilst the key still works it is a bit loose and gets stuck. However I can’t think I’ll have much occasion to use that particular key anyway.
The final thing to look at it is the joystick. I’m not entirely sure how it is meant to work but it seems to be working reasonably well in the Y axis but not in the X axis. These joysticks are actually fairly simple devices with two potentiometers:
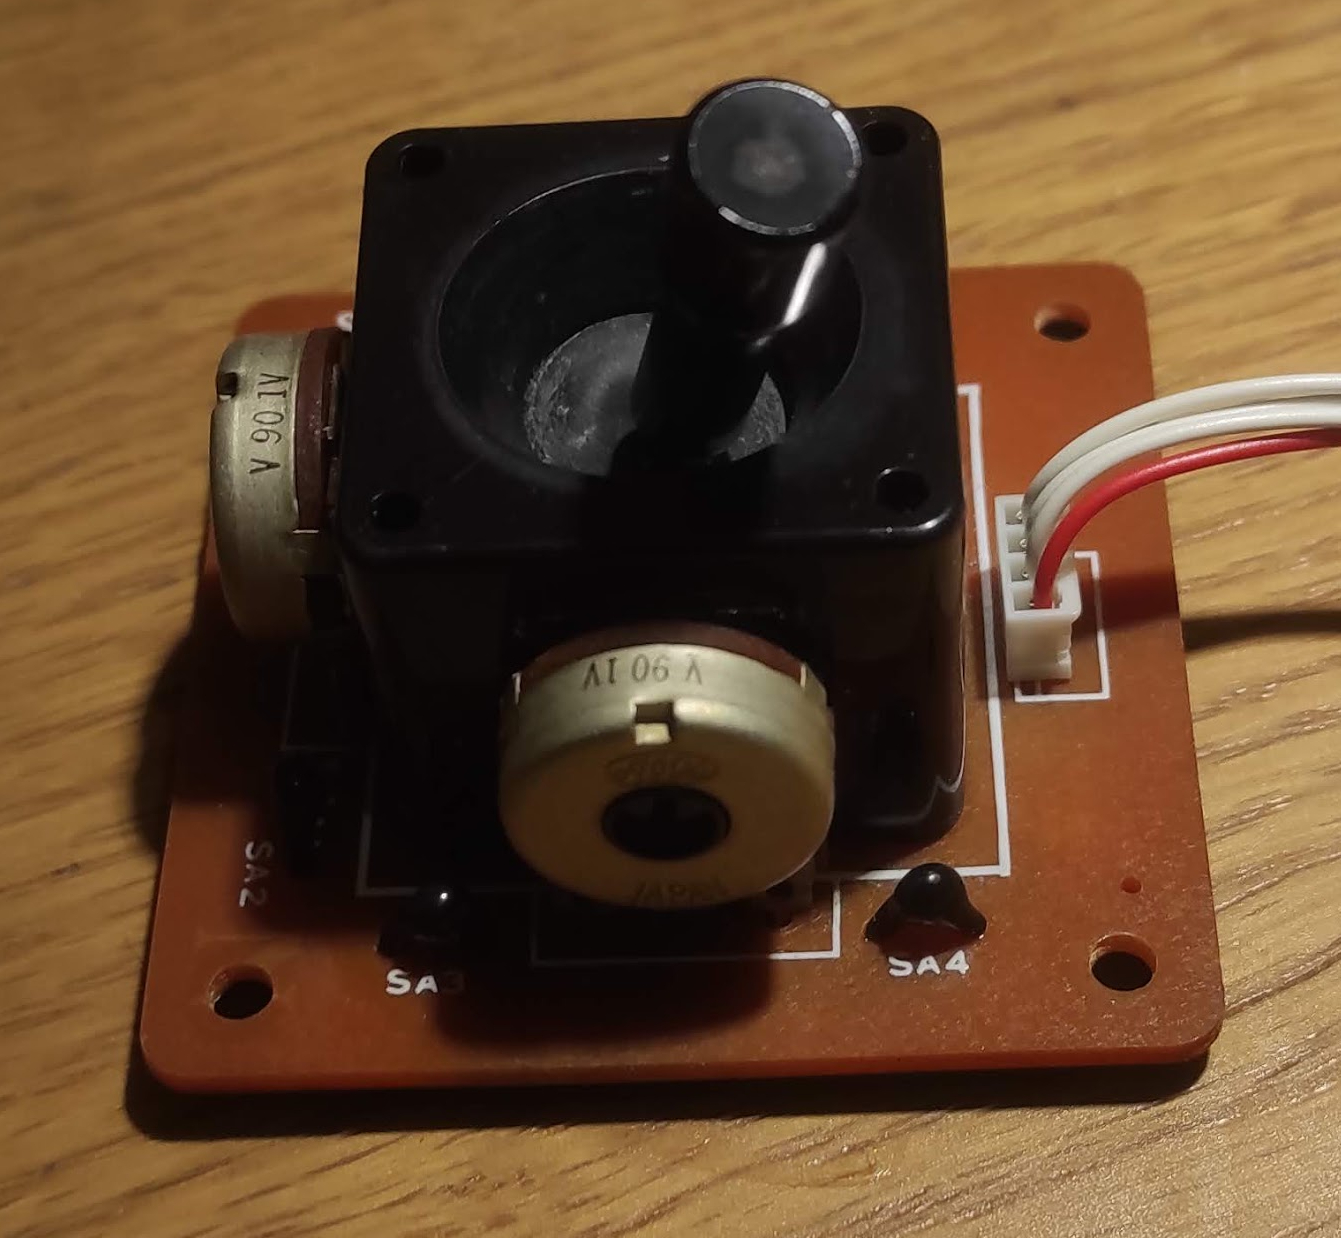
From a few measurements they seem to be fairly standard linear potentiometers tracking from 0 to 4.2k. There doesn’t seem to a big problem with them from measuring with the meter, and similarly the cabling etc also seems fine. However I’ve sprayed a liberal amount of switch cleaner on it, the connectors at the other end and the socket on the main board. After leaving it overnight to let the cleaner soak in I gave it a good wiggle around in both axes before refitting it.
Then it was simply a question of putting it all back together again and testing it. Somewhat to my surprise… basically everything worked! The keys all work, the control buttons work (although they do need firm pressure) and the joystick also works smoothly in both axes. So it’s rather a shame about the physical damage, it would be great to find a new casing from somewhere although that’s a bit of a long shot.
The backup battery is also working correctly, so the next thing to do is reload all the stock factory patches and get some more interesting sounds out of it so that’s for part 2.
