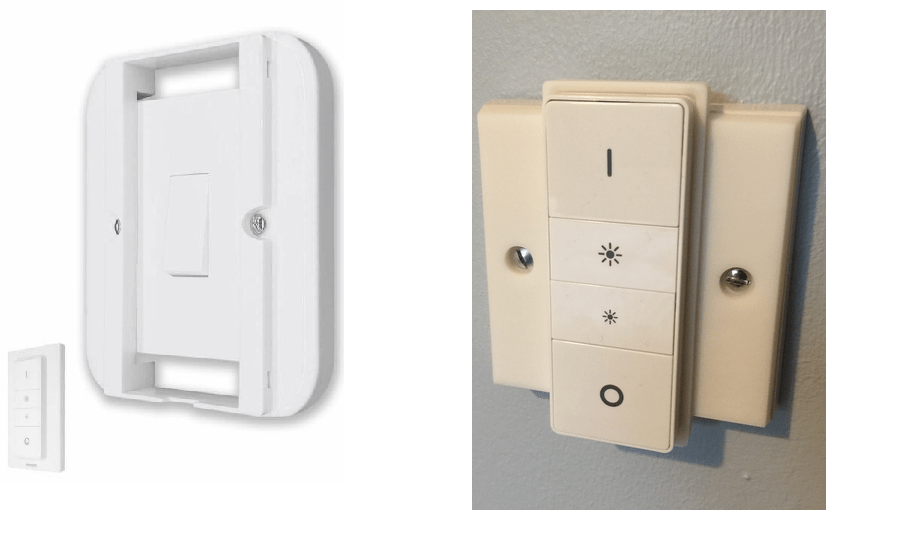
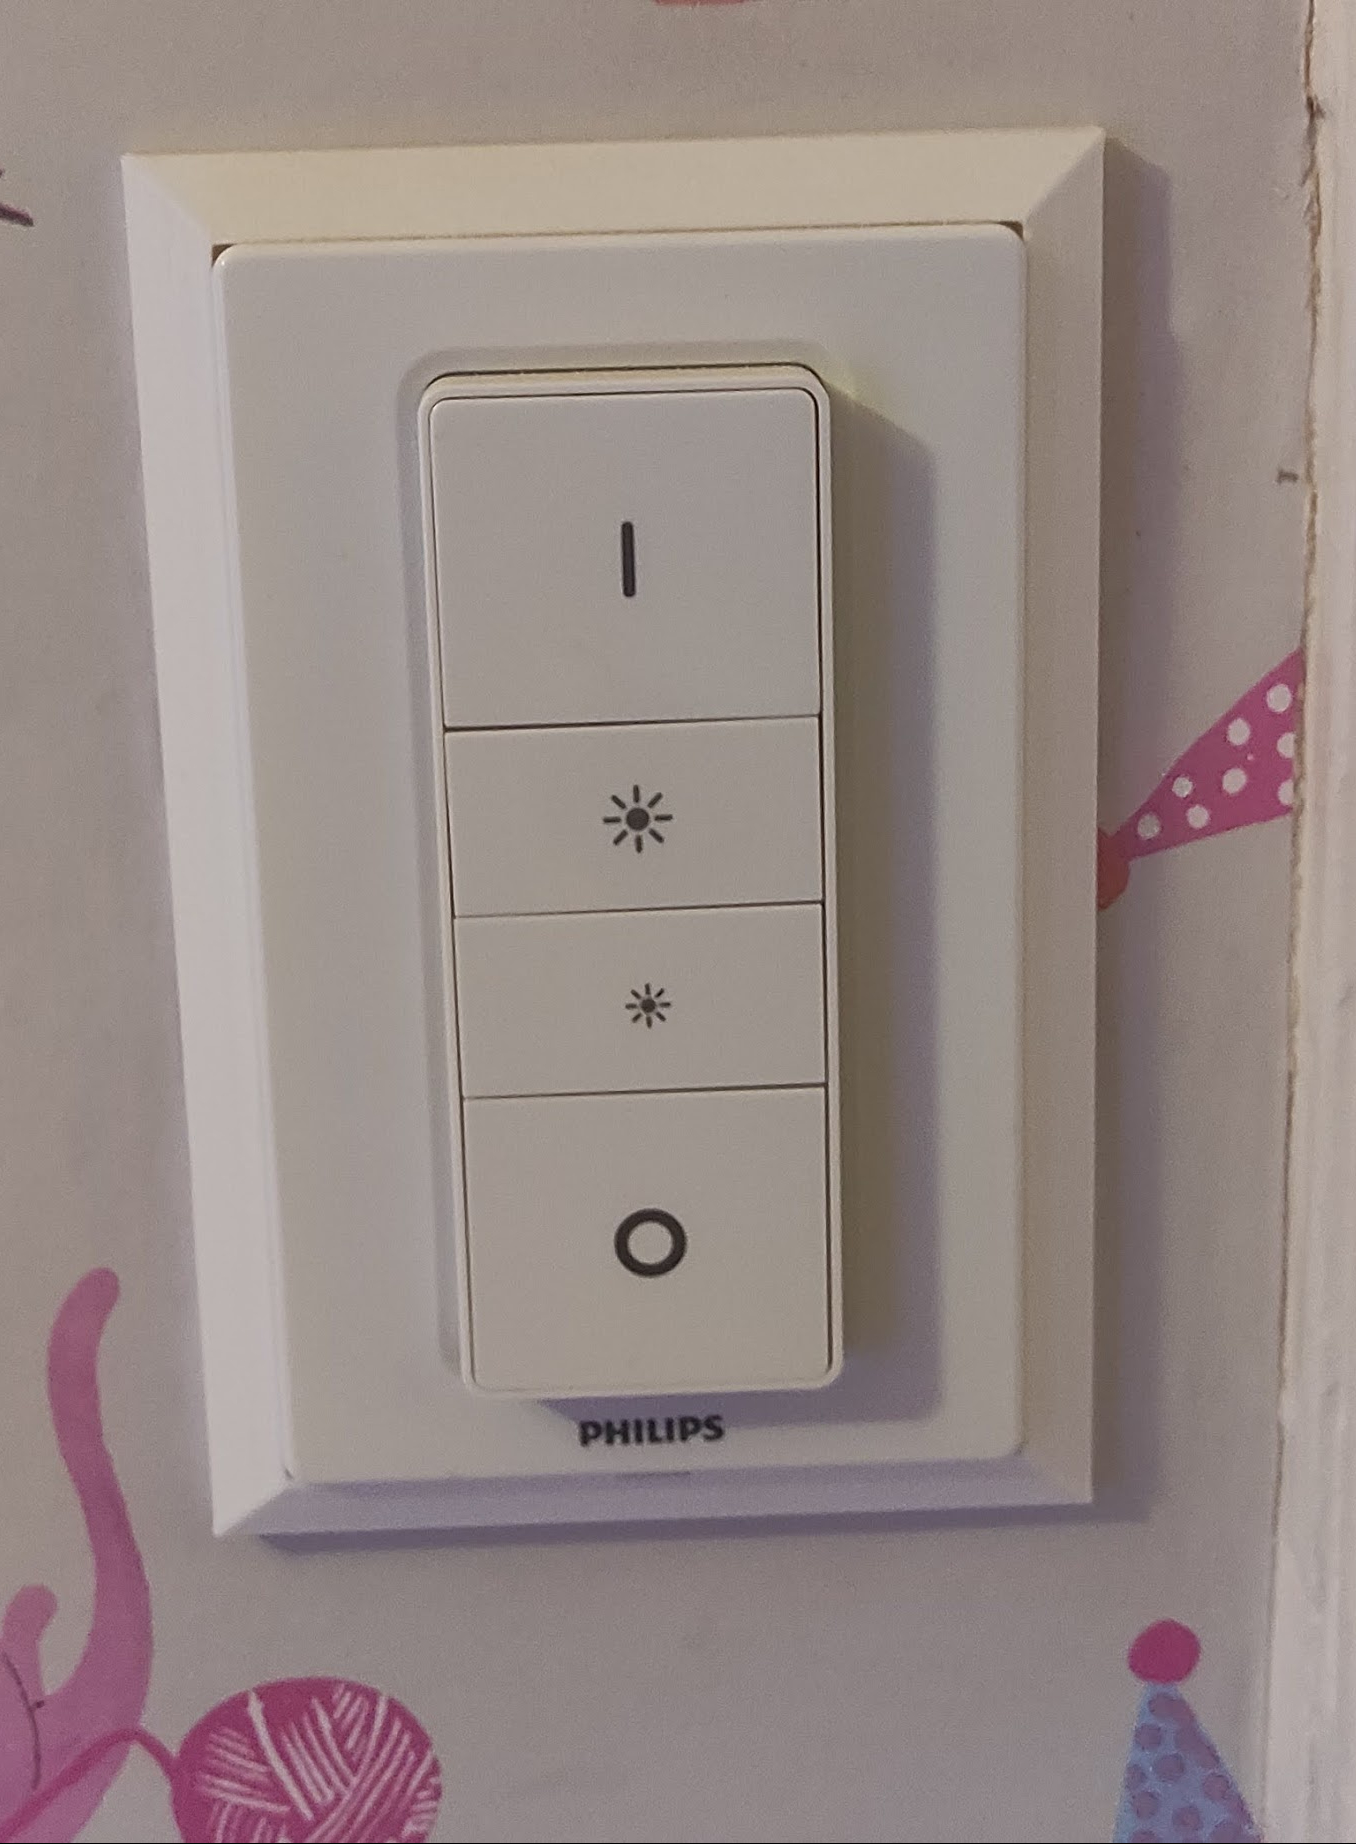
I’m having a lot of building work done at the moment, and I’ve always tried where I can to do little things to improve the tech in the house although usually in a ‘stealth’ or reversible way. So this time I’ve been able to sneak in a bit of extra wiring to make my Fibaro Z-Wave modules work better with the 3-way light switches (that’s a story for another day) and also I’ve installed some decent commercial wifi access points in the new ceilings.
Perhaps predictably one area of the house I’ve generally called my own is the cupboard under the stairs, although it’s generally been a bit of a mess with dodgy walls and ceilings and a lot of dust. This is where the Texecom alarm is, plus all my Internet wiring. Over the years I’ve added some refinements, such as some Cat 5 network cabling to another room (although I’ve mostly not used this) but it’s never been tidied up. So my ‘infrastructure’ looked a right old mess with wires everywhere, something like this:

So quite a mess although some of that stuff is storage (eg the rack units aren’t doing anything) but you can see the network cabling and some of the stuff on the shelf including the network switch and cube server.
The cupboard is built under a flight of stairs, and this means that it is triangular in shape and rises actually quite high up with a lot of space above your head. I was trying to think of the best way of mounting everything, started off with the wall but then it struck that the triangular panel immediately behind the door would allow me to get almost everything off the floor and run the cables in a manner which could be tidy but also leave everything acccessible.
So the result looks like this:
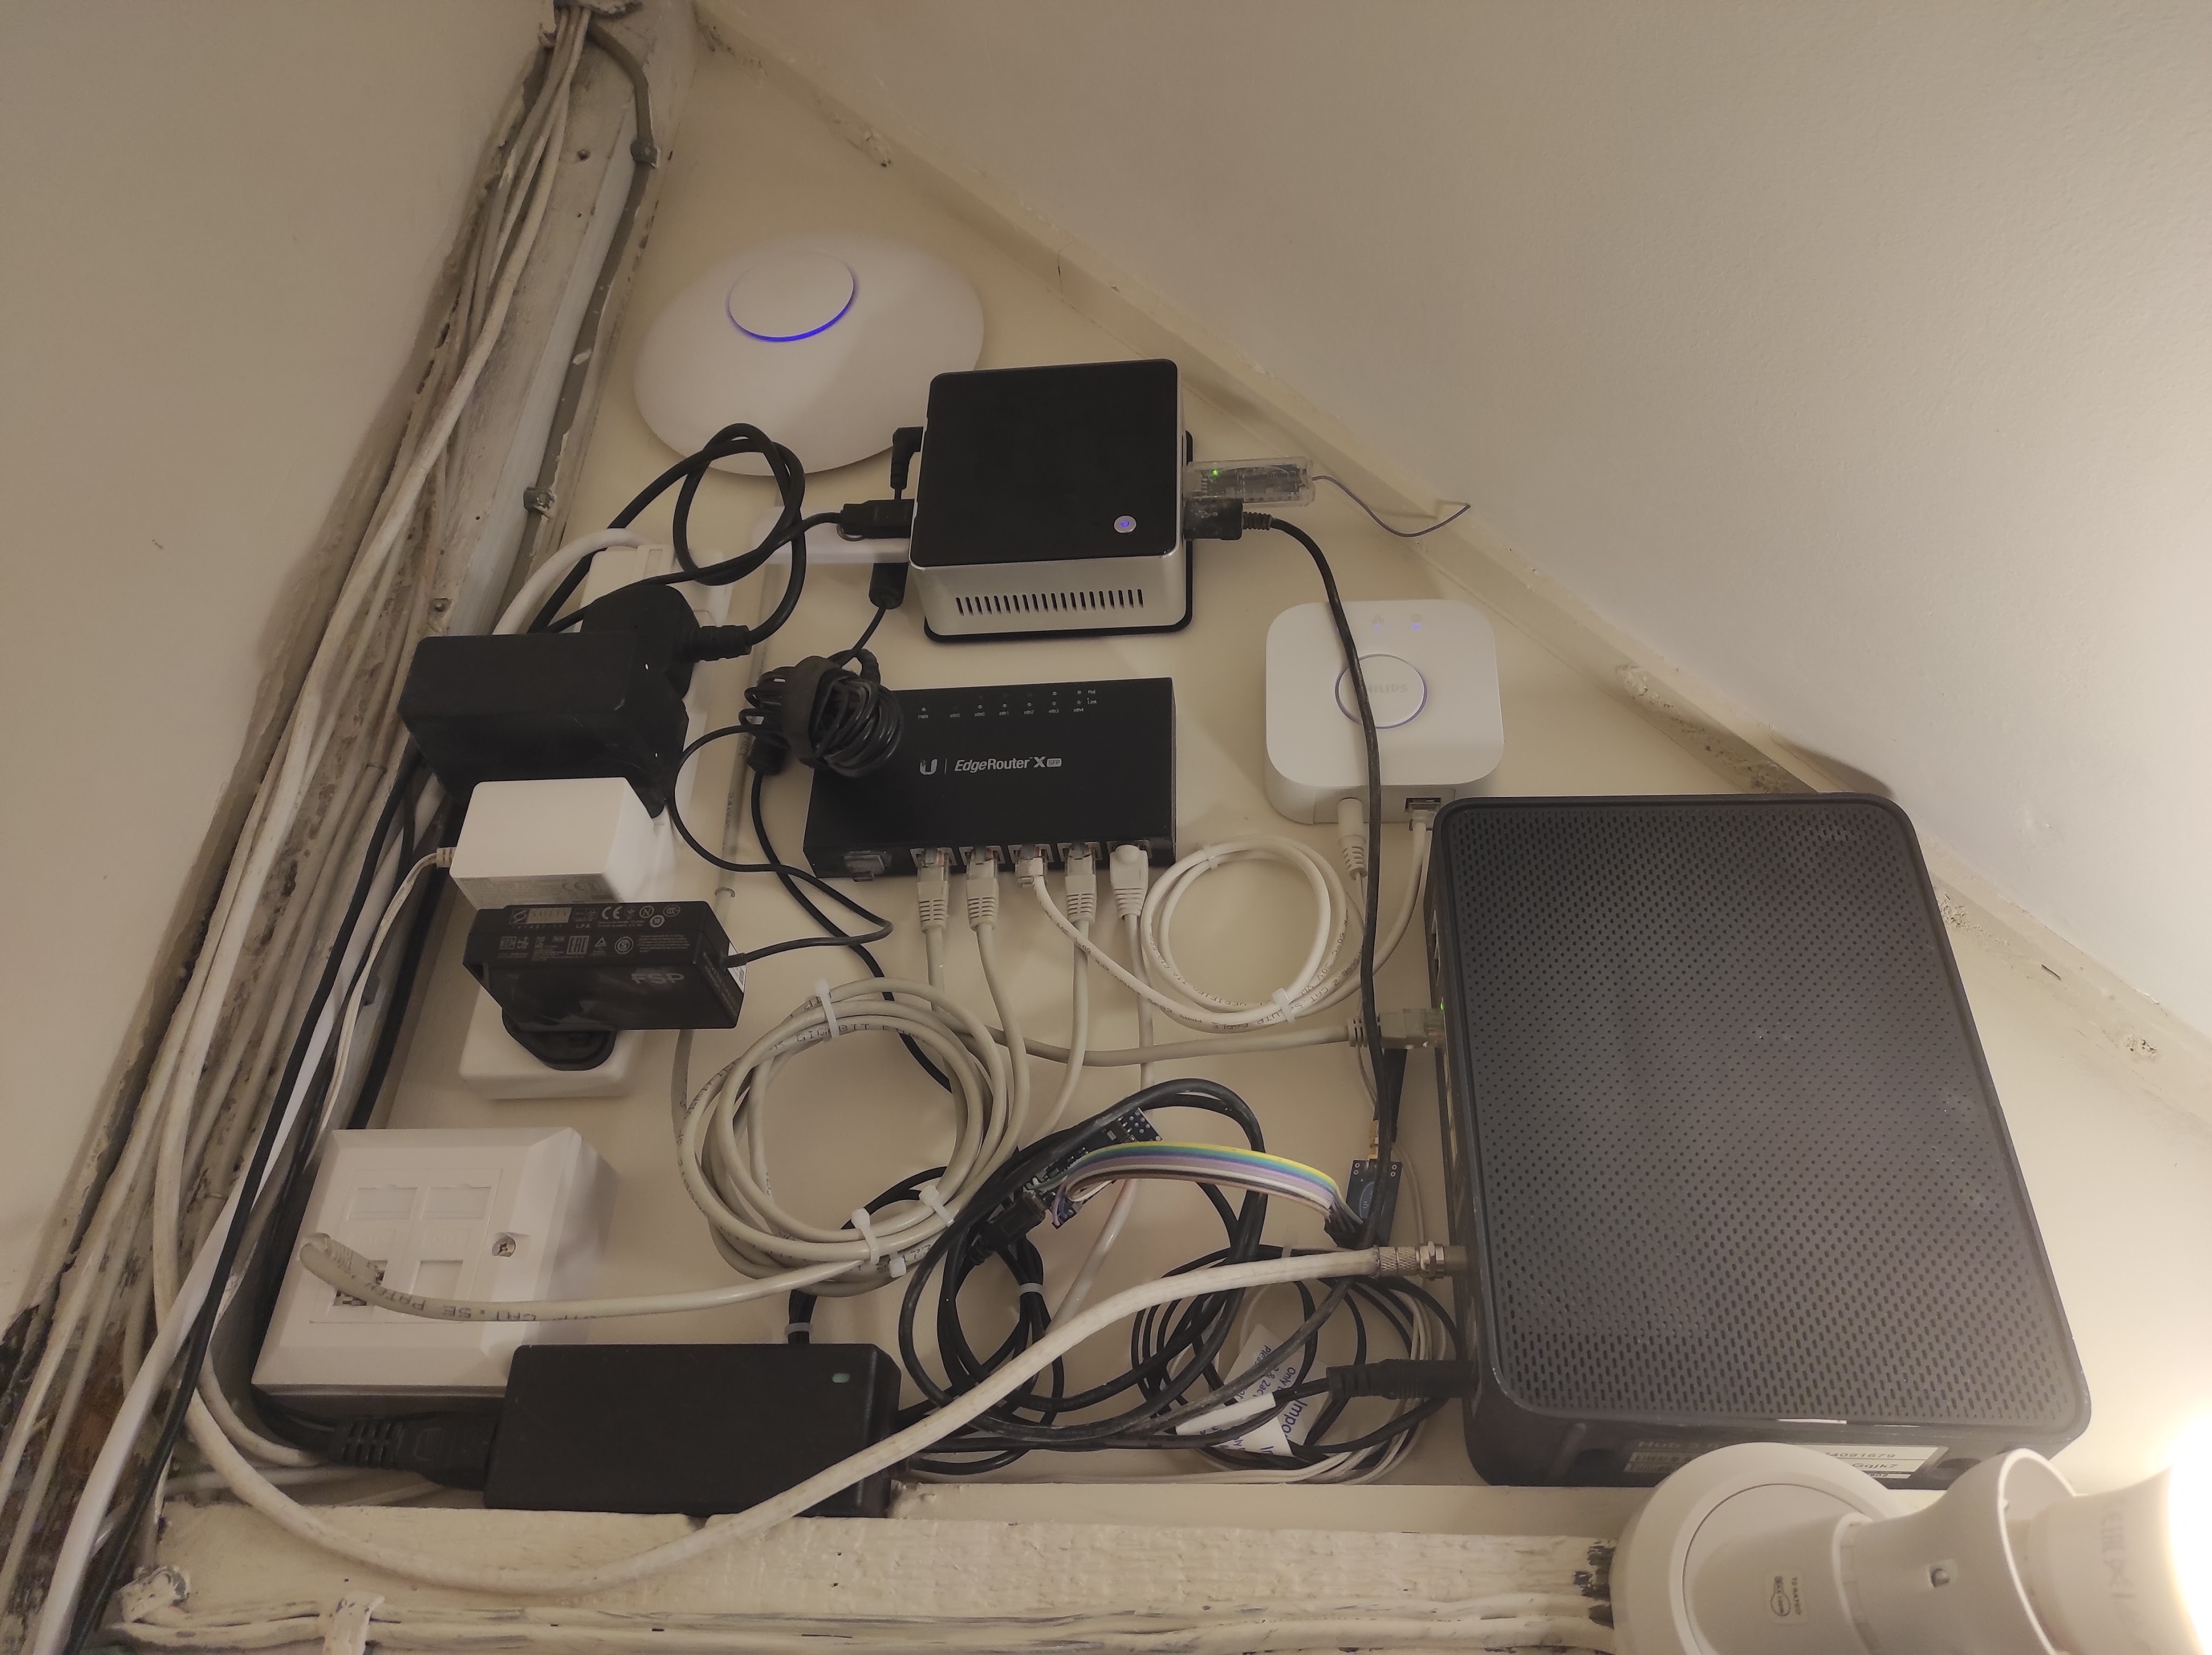
There’s a few things I’m not 100% happy about – mostly the amount of excess cabling I’ve had to coil up – but in general I’m pretty pleased. Going anticlockwise from the right, we have the cable modem on the far right, then the Hue bridge (white box), then an Intel NUC (on it’s VESA mounting plate) which replaces the HP cube server. This has a few USB dongles plugged in including a Z-Wave interface, the CUL device and links to the Texecom alarm and a Signalduino. At the top is a Unifi access point, and the in the middle is a Ubiquiti EdgeRouter X which is the heart of the system. There is a standard 4-way power strip mounted vertically and then bottom left is a double network socket.
Most of this stuff had slots and holes on the back to allow fairly easy wall mounting. The only exception is the cable box, but I was able to drill a small hole in the top and attach a mounting block which is then screwed to the wall. Another big advantage of this wall is that is actually a wooden partition with an MDF board glued to the back which made it very easy to screw everything in.
To make it perfect I’d want to shorten all the cables so that they were just long enough, but this isn’t easy without a lot of effort and also I wouldn’t want to butcher the moulded power supplies etc. There is a little bit I can do with the USB cables and the Signalduino needs mounting on a PCB rather than using a lot of wires as at present.
As a quick aside I have really liked using the Ubiqiti kit. It is a significant cut above the standard domestic brands (Asus / D-Link etc) in quality and the software is very slick and powerful. The performance is dramatically better too. I have two of these access points in the house and they cover it with ease and with high speeds. So I’d thoroughly recommend this, it’s not even very expensive (the router was about £60).
So all in all I’m very happy… now on to the next job.