I’ve always been interested in robots, and in recent years some of the stuff available as toys has been really interesting. One of the main players is Wowwee who have over the years produced loads of interesting stuff, perhaps most famously the Robosapien which has been through several versions over the years. However they have done others too. I bought a Roboquad off ebay a few years ago:
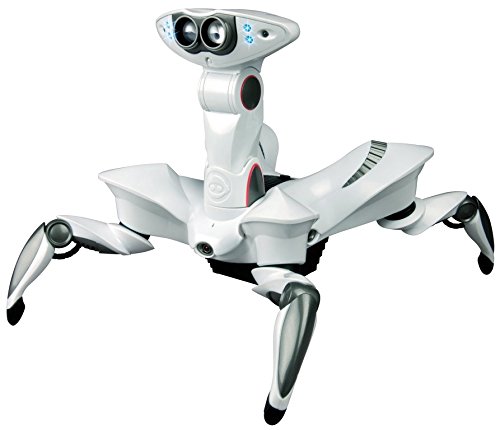
This is a very clever design which uses only four motors (one per leg) to move around using crab-style walk. The head and neck is also articulated, and it has light & IR sensors in the eyes. There are loads of programming options and for a toy it’s quite advanced.
It’s been put away for a few years, and when I got it out again I found that because I’d used cheap batteries in the remote control (never a good idea) they had leaked acid everywhere and completely rotted through the springs and contacts completely destroying the battery compartment. To make matters worse when I put batteries in the robot itself it was completely dead and didn’t power up.
So before throwing it out I decided to investigate further. Unfortunately given that this is now quite old a lot of the info about them is hidden away in old forums but I was able to find a basic disassembly guide.
You have to start by turning it over and removing all the screws in sight, including one in each corner which is hidden under the leg. Once you done this you can separate the top and bottom, but you need to be careful to unplug the cables which connect the sensors from the head to the main board.


Given that it was completely dead, I did a few tests to make sure that the voltage from the battery was getting through, which it was and there was nothing else obviously wrong. So the next step was to unplug all the connectors in sight and get the board itself out. You need to be quite careful doing this as there are lot of them and some of them are quite stiff, but with a bit of gentle pressure you can get them all out.


I had a good look at the board when out and there wasn’t anything obviously wrong with it. However what I have learned by now is that the most likely point of failure with modern electronics is the large discrete components like electrolytic capacitors. So I desoldered and removed the largest ones and replaced them with some new ones.
I wasn’t optimistic, but to my great surprise once I had reassembled it the robot now worked fine! It’s possible that it wasn’t the capacitors, and it might have simply been the act of disassembly and reseating all the connectors but either way I was pleased.
The next step was to fix the remote control. Whilst the battery springs were completely destroyed by the battery acid, the actual contacts themselves were OK. So I tried jamming the batteries in with some coils of unused solder as impromptu springs. This worked up to a point but it wasn’t reliable and I gave up. The only thing to do was replace the battery holder completely.
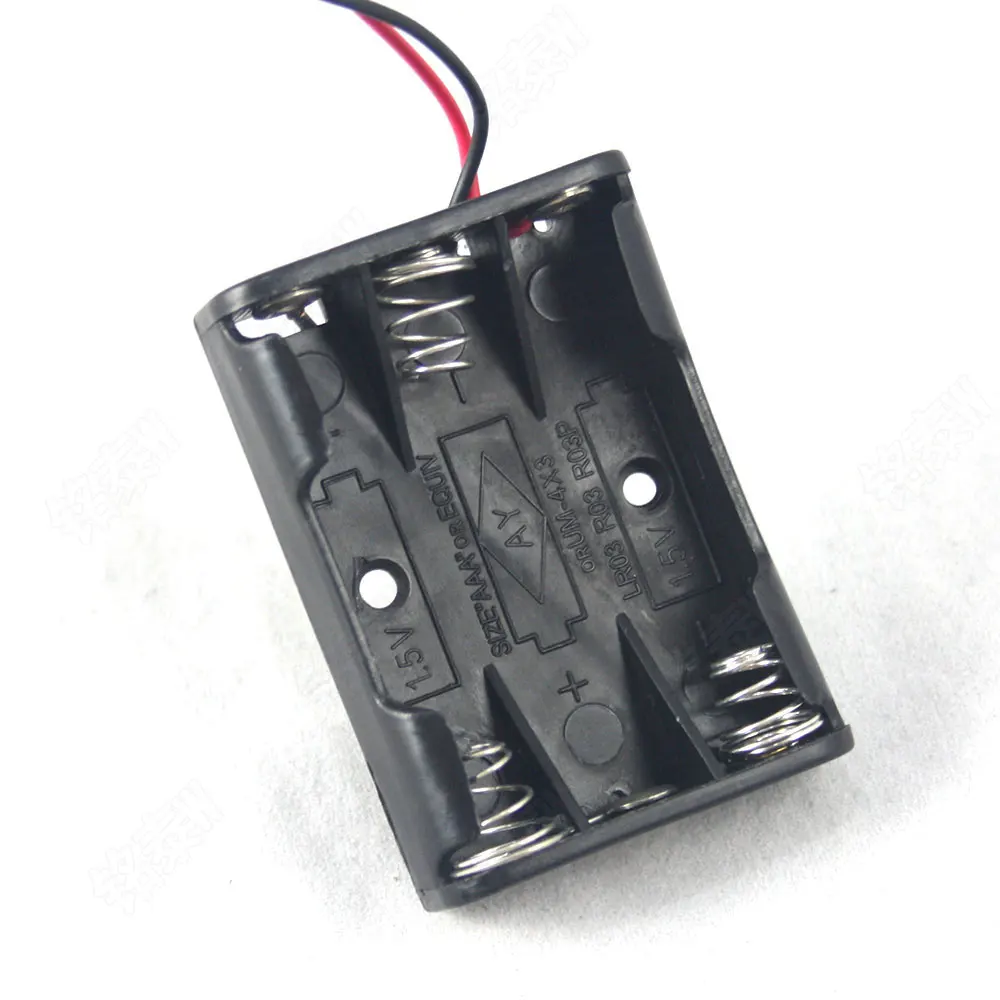
The remote uses 3 AAA batteries, and fortunately a suitable holder is easy to find on ebay and other sources:
Then it was a matter of fitting it. The original remote had the battery holder moulded out of the plastic the back was made out of. It originally looked like this:

So what I had to do was break out the trusty Dremel and use it with a cutting wheel to remove the whole compartment. This turned out to be quite a job because the plastic was surprisingly thick in places. However eventually I was left with this:


The battery holder just fits through the hole, and the battery cover holds in in place perfectly. Having resoldered the wires I now have a working remote as well.
So all in all a good result – both robot and remote repaired and working for total expenditure of a few pounds. Hopefully this may help other in the same situation as I found it quite difficult to find much useful info given the age of these toys.
